New Blog Makeover Coming Soon
I’m revamping Appalachian Feet right now so if it looks odd, that’s why. New look & content, coming soon!

I’m revamping Appalachian Feet right now so if it looks odd, that’s why. New look & content, coming soon!
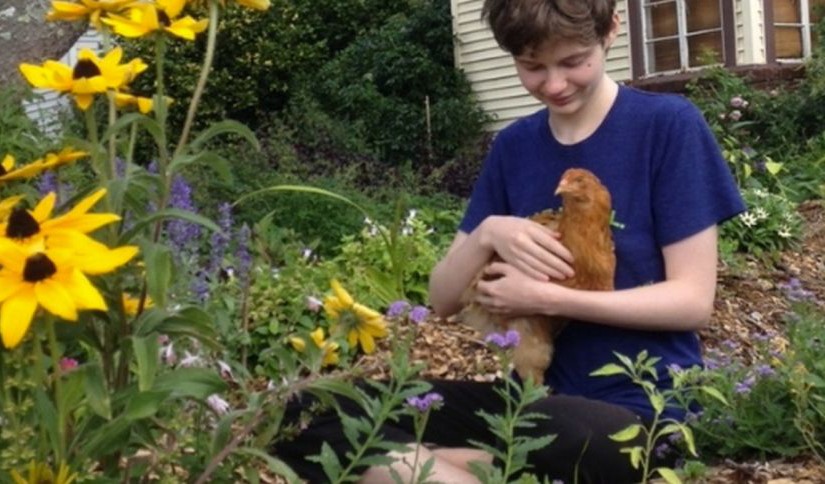
This summer our daughter Rain decided to raise the tamest Easter Egger hens and sell them once they were close to laying age. She is selling them for the excellent price of $20.00 each. They are now large and feathered enough to be housed in outdoor coops but young enough they haven’t started laying yet. They will start laying sometime…
This Saturday Eliza is going to be showing a small group of people how to install a permaculture garden by actually doing it — the best way to learn! If you prefer to learn hands-on, this class is going to cover a myriad of permaculture techniques and design elements. Even better is that in the process, we’ll be putting in…
I taught two classes at last Saturday’s SC Organic Growing Conference — one on farmscaping and the other on southern passalong plants for permaculturists. I promised everyone to put the handouts online, which is still on my todo list. Being me, I got sidetracked reading some new studies and expanding my farmscaping spreadsheet so the official blog post with the…
It’s here. The garden classes are in gardens, the cooking classes are in kitchens, the nature study is in forests, the raspberries taste like raspberries, and the snozzberries taste like snozzberries! I worked for weeks on the lesson plans for these hands-on classes, workshops, and tours and am so excited to finally roll them out. Click here for my entire…
When I founded the SC Upstate Permaculture Society I had no idea we’d be this popular, but we’re up to 644 members with multiple people joining each week. If you live in upstate South Carolina (or nearby) we welcome you to join us. Last October we broke ground on a huge new garden that is already stacking functions by being…
Eliza was on TV Wednesday doing a foraging recipe demonstration (involving a failed attempt to use a hammer) and talking about a couple things happening this weekend with Grow Journey and the Swamp Rabbit Cafe & Grocery’s Holiday Flea Market on Saturday from 11am – 3pm. If you’d like to see Eliza’s segment during Wednesday’s Studio 62 on the CW…
Okay, maybe not NO disease, but insignificant diseases and pests sounds good, right? Plus, perennial fruits and veggies mean less work for more harvest. Eliza loves teaching the two class topics available this week at the Swamp Rabbit Cafe & Grocery. Click here to sign up for class or click here to see the full 2014-2015 class schedule. THIS WEEK:…
Our garden open house (rain or shine) is THIS coming Saturday! APPALACHIAN FEET GARDEN OPEN HOUSE DETAILS: Drop-in June 14th, 9:00am – 5:00pm Recommended donation of $2-$5 440 Summit Drive, Greenville, SC You may also want to catch Eliza’s TEDx presentation at Zen on Tuesday, June 17th at 5:30pm. Additionally, Eliza wrote the feature article (on pawpaws) in the latest…
The SC Organic Grower’s Conference just announced their locally sourced menu and it’s worth the price of the ticket just to eat lunch. CONFERENCE MENU: “The Culinary Institute of the Carolinas does a magnificent job preparing local food. (The chefs also will ensure that we have plenty of choices for those of you who need a vegetarian lunch.) Winter Kale…
Who else can’t wait until spring? I mean, besides our dog… We thoroughly enjoyed this week’s token snow of the year, but we’re just as excited about next week’s projected highs in the 60s! Spring fever has bit hard and we have so many plans for an urban farm open house, plant sale, workshops, classes, and more! You may already…
This month’s giveaway contest is over, congratulations to the winner, Christina Weit! Christina won four February classes. Today is gorgeous, has spring fever hit you? Eliza’s urban homesteading classes at the Swamp Rabbit Cafe and Grocery start next week! Come learn about edible landscaping, backyard chickens, beekeeping basics, composting, and more… now is the time to get prepared for your…
First, I want to make sure everyone knows we’ll be presenting at the 2014 SC Organic Growing Conference on March 1st. Get your tickets before February 1st to get the early bird registration price. Next, we’re running another urban homesteading class giveaway! Enter to win 4 tickets to my February classes at the Swamp Rabbit Cafe & Grocery (a $50.00…
Today Nathaniel and I did presentations at Gardening for Good‘s Community Gardening Symposium. Nathaniel sat in on a “Going Green in the Garden” discussion panel and I did a talk on “Perennial Vegetables.” We weren’t at last year’s Community Gardening Conference so we didn’t know what to expect. It turned out to be a high-quality, affordable conference with thoughtful care…
There’s a new way to purchase Eliza’s classes at the Swamp Rabbit Cafe & Grocery. We switched from Paypal to Marketsquare because it seemed easier for people to use. You can also call or visit the cafe if you prefer not to buy them online. Click here to purchase classes from the winter schedule. Click here to purchases classes from…
We’re giving away two free sets of Eliza’s January gardening classes! These classes are designed to turn a total beginner into someone who is comfortable designing and implementing their dream garden. You have two opportunities to win — you get a point towards winning for liking Appalachian Feet on Facebook and another point for liking the Swamp Rabbit Cafe &…
The best thing about winter salads is how easy it is to obtain a harvest. Cold months mean chores don’t have to be done in the heat, plus the pests and diseases are mostly dormant. You can’t beat the satisfaction of walking into the kitchen on a gray day carrying an armload of vibrant produce! Winter gardening at Appalachian Feet…
We’ve got an amazing variety of class topics available right now — with limited seating so reserve your space ASAP! Are you a beginner gardener? Our January block of classes starts with the absolute basics and ends with you knowing how to design your dream garden (and what plants to stock it with). Not only that, but they’re available on…
Scenario: Instead of figuring out what’s for dinner, head over to the Swamp Rabbit Cafe & Grocery to choose from their delicious menu and enjoy an evening of information and inspiring photo eye-candy. Cappuccino? Soup? An entire bar of artisan chocolate? Treat yourself or buy a gift for a friend! The choice of topics is huge and there’s something to…
Hey everyone! Even though our home isn’t on the Greenville Urban Farm Tour this year, we’ll still be at the North Main Organic Garden tomorrow to answer questions and talk to people. Nathaniel and I will be at the Appalachian Feet table from 9:00am until early afternoon (so if you want to see us, don’t come too late in the…